What is a Blower Door Test?
Definition and Purpose of the Blower Door Test
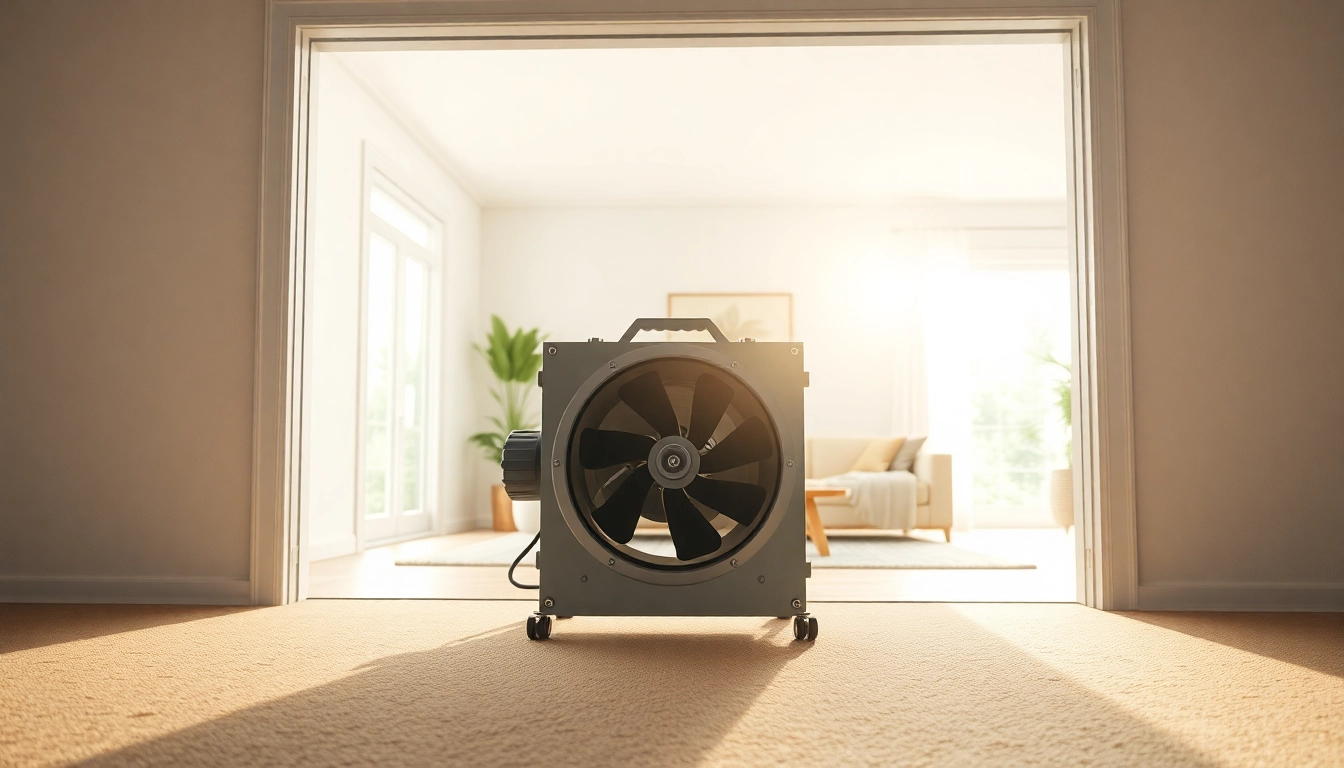
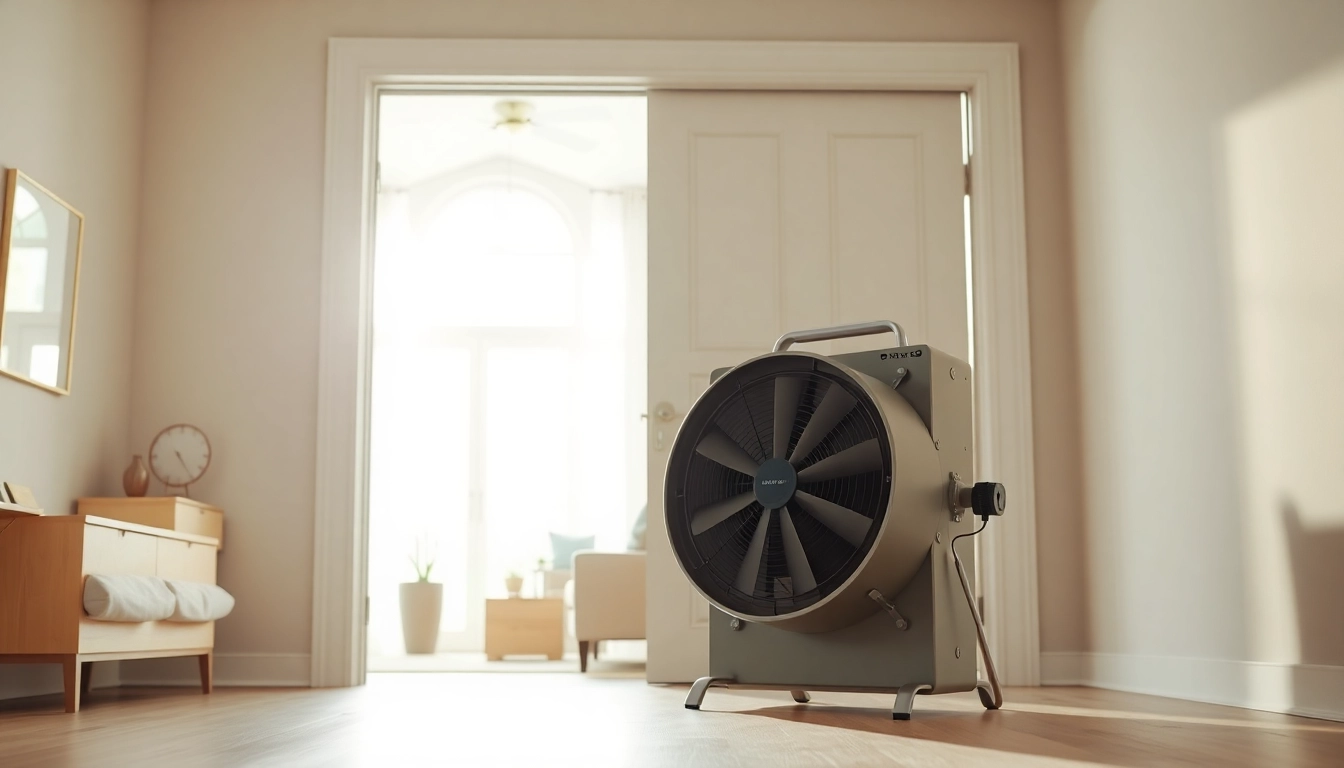
A blower door test is a diagnostic procedure used to measure the airtightness of a building. During this test, a fan is mounted into the frame of an exterior door, and the fan is used to either pressurize or depressurize the building. This process helps to identify air leakage paths, providing essential information that can enhance energy efficiency and indoor air quality. The primary purpose of the blower door test is not only to quantify air leakage but also to inform property owners and builders about how effectively their buildings retain heated or cooled air, a significant factor in energy conservation.
Importance of Airtightness in Homes
Airtightness is critical in modern construction to ensure energy efficiency. A well-sealed home prevents unwanted air infiltration, which can lead to increased energy costs, discomfort, and potential structural issues. Studies show that homes lose a significant percentage of conditioned air through leaks. By addressing these leaks, homeowners can significantly reduce their energy bills while also improving the comfort levels within their homes.
How Blower Door Test Benefits Homeowners
Homeowners can reap numerous benefits from conducting a blower door test. Firstly, it allows for the identification of existing leaks that may be contributing to higher energy costs. Secondly, by sealing these leaks, homeowners can improve their indoor air quality and comfort levels, reduce the load on heating and cooling systems, and potentially lower their carbon footprint. To understand the implications fully, homeowners can refer to resources detailing the blower door test process and its advantages.
Preparing for a Blower Door Test
Key Equipment Needed for the Blower Door Test
The primary piece of equipment for a blower door test is the blower door kit itself, which includes a fan, a door frame, pressure gauges, and sometimes software for recording and analyzing the collected data. Additional equipment can include thermal imaging cameras for a more detailed assessment of heat loss areas, as well as infrared thermometers, which help pinpoint temperatures in various parts of the home, highlighting problem areas where air may be leaking.
Steps to Prepare Your Home
- Ensure all windows and doors are closed but not locked.
- Turn off any furnaces, water heaters, and any combustion appliances to prevent backdrafts.
- Seal any large openings, like those for ventilation systems, which might create air leaks during the test.
- Clear the area around the door where the blower door will be set up, allowing for easy access.
- Notify household members about the test to prevent any interference.
Common Mistakes to Avoid
One common mistake is not properly sealing holes that may lead air to escape, like those for electrical outlets. Additionally, some homeowners overlook the importance of ensuring that appliances are powered down, which can lead to inaccurate readings. An adequate preparation checklist can help ensure that all steps are followed accurately for the most reliable results.
Understanding the Blower Door Test Process
How a Blower Door Test is Conducted
The blower door test begins with the setup of the blower door fan in the designated exterior door. Once everything is secured, the fan either pressurizes or depressurizes the home to 50 pascals, a standard measure for testing. This process allows a certified technician to measure how much air flows through the fan at this pressure, which directly correlates to the building’s air leakage. Multiple readings are often taken to ensure accuracy, and the entire process generally lasts about 30 to 60 minutes.
Interpreting Blower Door Test Results
Once the test is complete, the results will indicate how much air is leaking from the home. This is generally represented in CFM (cubic feet per minute). A lower CFM rating indicates better airtightness. Homeowners should interpret these results in context with the recommended leakage rates based on the size and type of the structure. Specific thresholds of leakage may determine whether a home meets local building code standards or energy efficiency frameworks.
Factors Affecting Test Accuracy
Several factors can impact the accuracy of a blower door test. Environmental conditions, such as wind speed and temperature, can affect airflow and lead to variability in readings. It is best to conduct tests on calm days to minimize these effects. Additionally, being thorough in preparation, ensuring all doors and windows are closed, and using calibrated equipment can significantly improve the accuracy of test results.
Improving Airtightness After the Blower Door Test
Identifying Air Leaks in Your Home
Identifying air leaks requires a systematic approach. Areas typically prone to leaks include windows, doors, electrical outlets, vent fans, and basements. Using a thermal imaging camera during the blower door test provides visual insight into where cold or hot air is entering, allowing for easier localization of leaks. During follow-up visits, homeowners should pay special attention to these areas.
Effective Air-Sealing Solutions
Once leaks have been identified, various air-sealing solutions can be implemented. Common methods include the application of caulk or weatherstripping around windows and doors, sealing leaks in ductwork, covering attic hatches, and installing insulated covers on electrical outlets. In more complex situations, insulation upgrades may also be necessary to ensure comprehensive airtightness.
Importance of Regular Testing
Regular blower door testing, conducted every few years or after significant renovations, is crucial for maintaining a home's energy performance. Changes in occupancy, updates to heating and cooling systems, or major renovations can all affect a home's airtightness. Consistent testing not only ensures that previously sealed areas remain intact but also helps homeowners take proactive measures in energy conservation.
Frequently Asked Questions About Blower Door Tests
What is the cost of a blower door test?
The cost of a blower door test can typically range from $300 to $600, depending on the size of the home, location, and the specific services included, such as additional diagnostic testing.
How long does a blower door test take?
A typical blower door test takes between 30 to 60 minutes. This includes setup, testing, and data collection, allowing for a comprehensive assessment.
When is a blower door test required?
A blower door test may be required during new construction to comply with energy codes or for energy efficiency certifications. It's also recommended before major renovations to gauge existing airtightness.
What are the common results of a blower door test?
Common results are measured in CFM at 50 pascals. Homes with less than 1,500 CFM are considered relatively airtight, while higher values indicate substantial air leakage.
Can I conduct a blower door test myself?
While enthusiasts may attempt DIY blower door tests, they typically require specialized equipment and expertise to yield accurate and reliable results. Professional testing is usually recommended for best outcomes.